Podcasting is fun, easy, and largely free if you either have the tech already or you don’t mind basic quality, but an important consideration to make is the enjoyability of your listener. No matter how good your content, if it sounds lower standard than that around it, you’ll lose listeners before you’ve even begun.
So here’s our basic guide to podcasting tech, and creating a podcast specifically with Pro Tools.
- Find a niche
I have been wanting to produce shows for a long time. After listening to the likes of IGN, Adam Koralik, Slopes Game Room, Gaming Historian (yep – spot the gamer!), I wanted to have a YouTube show but I wanted a niche – why do the same as everyone else. The Pro Tools Answers concept is a unique one in the audio world – discussing people’s questions and taking a deep look at daw technique where learned opinion and engineering workflow naturally flow into our conversation. And audio production, as well as Pro Tools, is our collective passion.
This was our niche. And this is our passion. Find a niche within your passion and run with it.
- Good microphone (and placement)
An interface will be required but no matter which interface you choose, the weak link will always be the tech that hears your voice – the microphone. Want an example – just listen to Episode 1 of Pro Tools Answers (Link) and Episode 3 and compare Dave’s vocal texture.
Episode 1 was recorded with an SE R1 ribbon mic, Episode 3 with an Audio Technica AT4040. The ribbon, being bi-directional, picked up a incredible amount of room tone, it’s an uncomfortable listen (for us!). The AT4040 is so much nicer and natural.
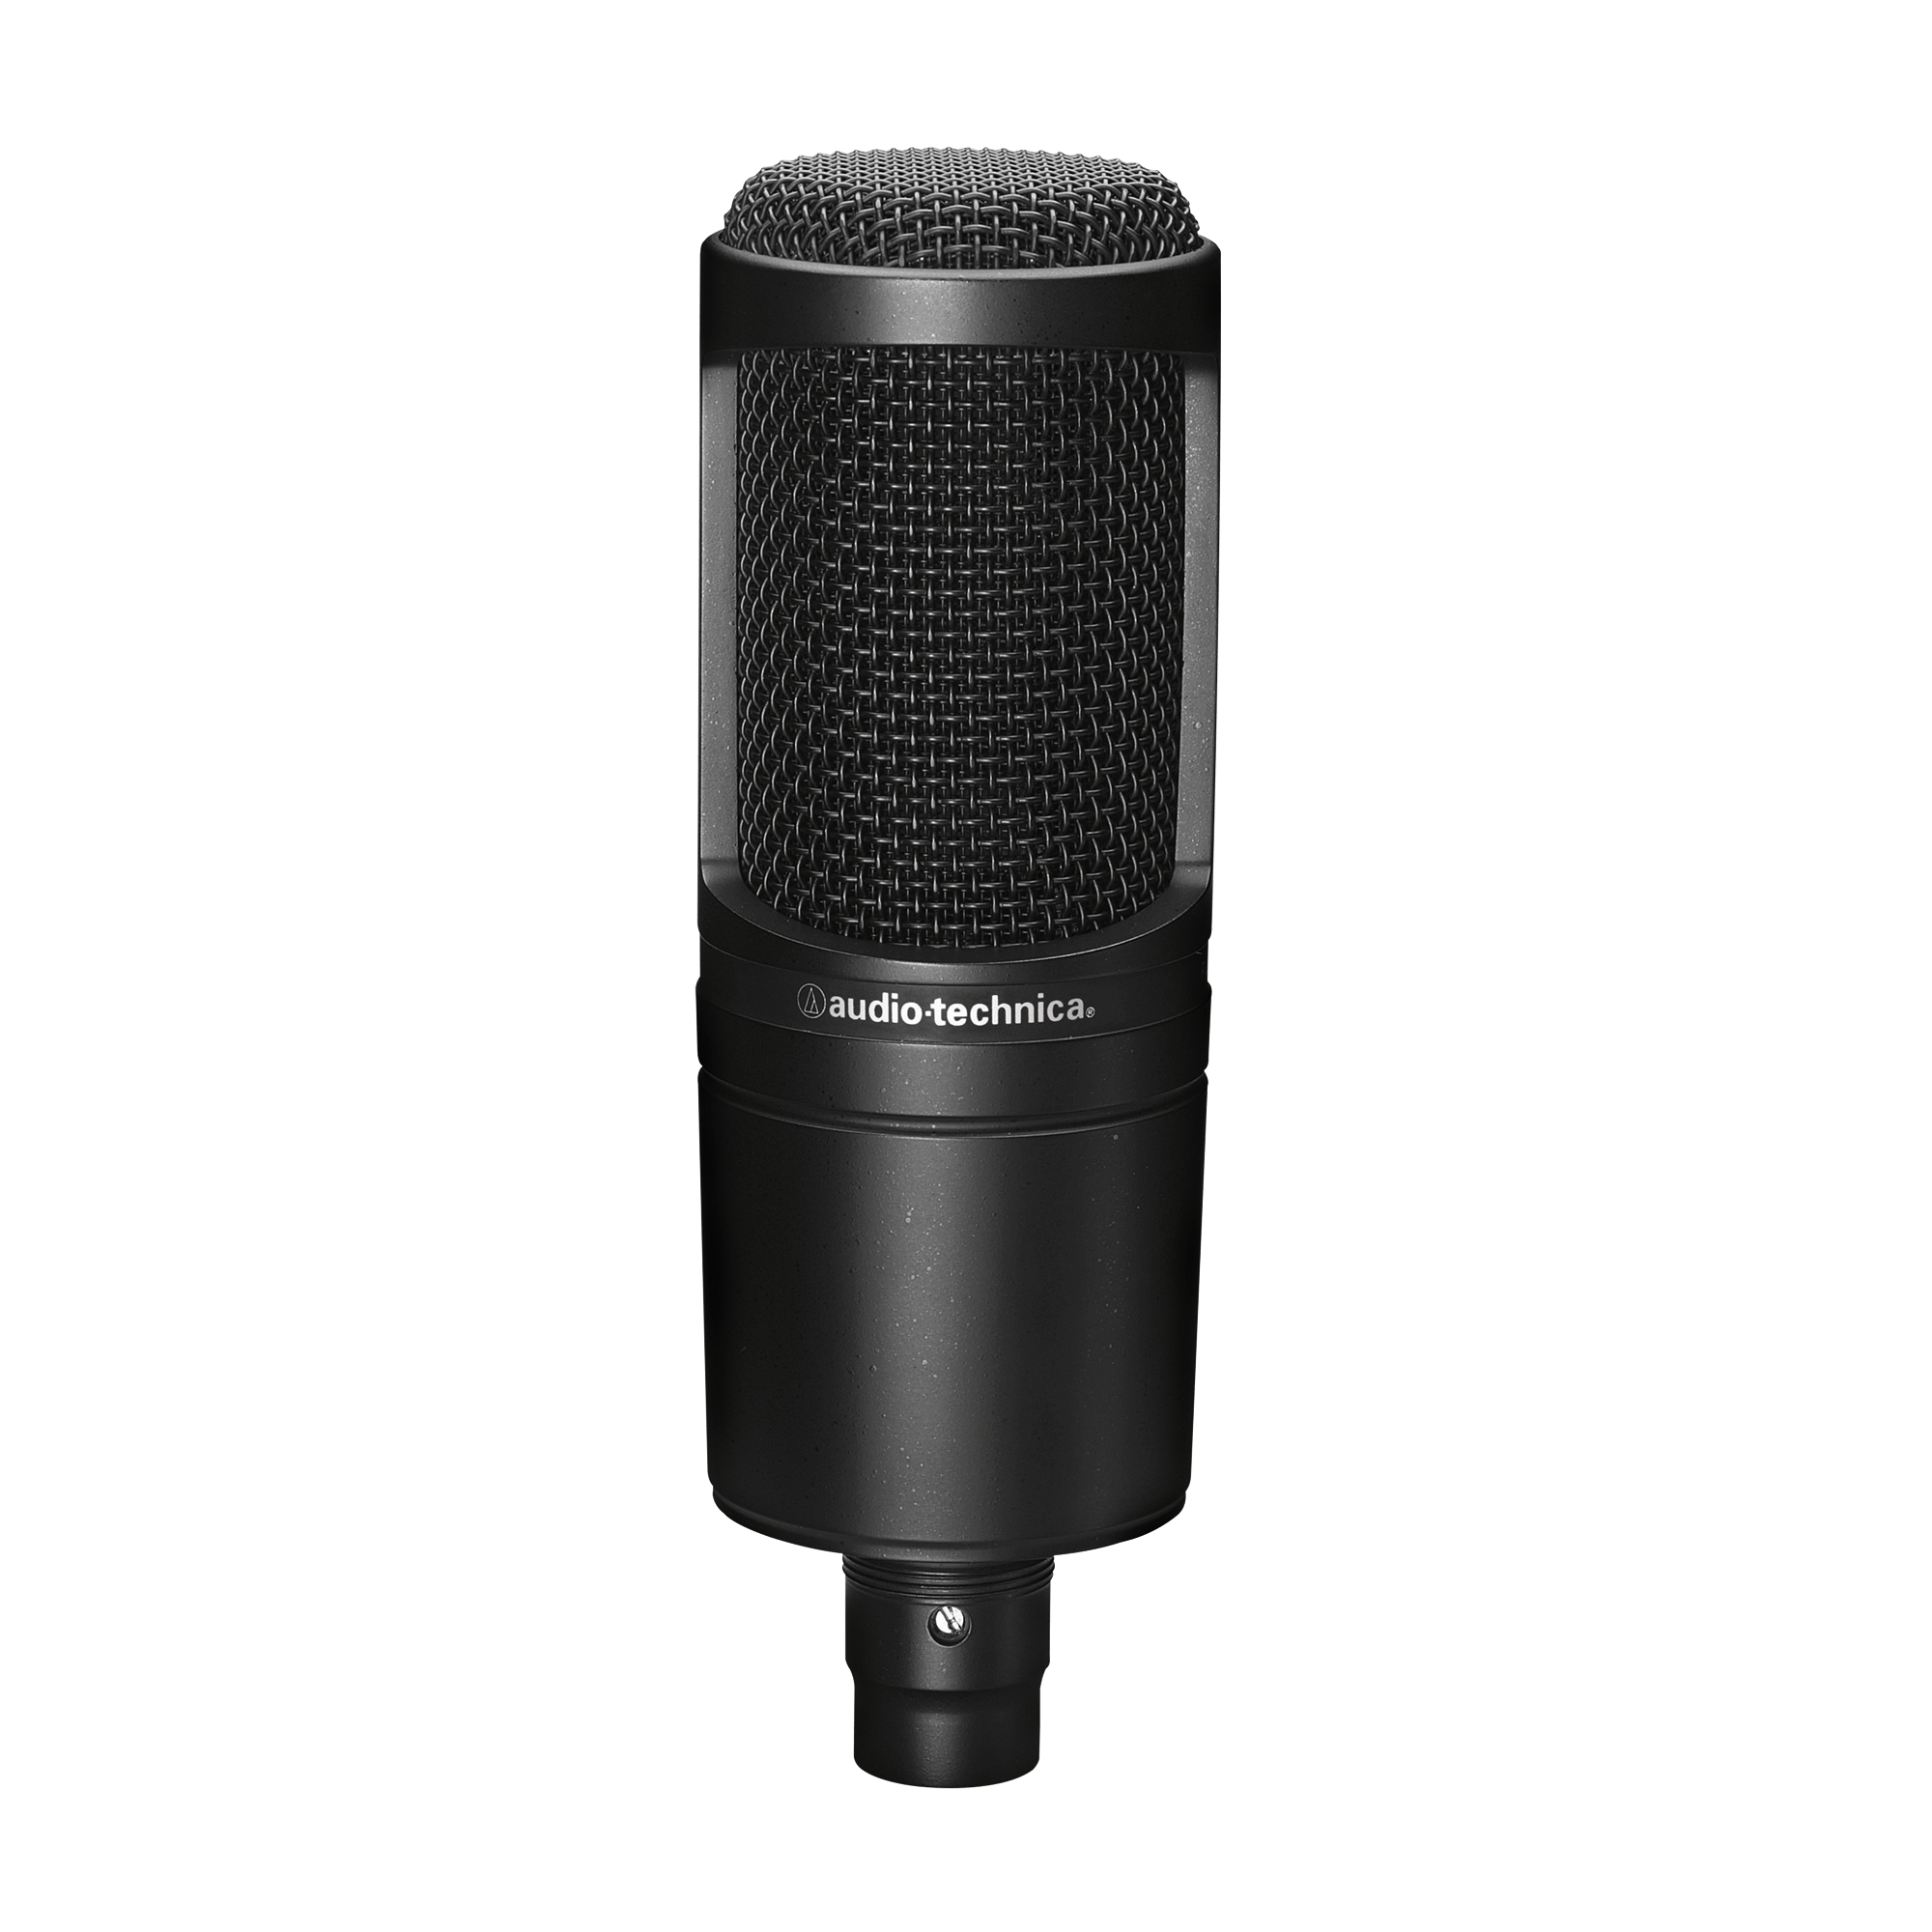
Realistically, any reasonable quality £100+ mic will work. Dave uses a condenser, Anders uses a Shotgun, and Andy uses a dynamic, listen to the quality of each of our voices and decide which you might like the sound of. Tip – there’s no processing on our vocal tracks. (Apart from Episode 1.. that Ribbon took a lot to tame!!).
The placement is also important. It’s natural to want to hide the microphone, but the further away from the mic your are, the less defined your voice becomes and you’lol end up introducing more noise and room by turning up the gain to compensate. Again, Episode 1’s ribbon mic demonstrates this.
If you really want to hide the mic, get a lapel mic.
But also notice that a lot of presenters don’t mind mics being in the shot in their youtube content. Make sure you also factor in a pop shield.
Manufacturers to check out for Mics are Sontronics, SE Electronics, Audio Technica and Shure.
- Interface
In a nutshell, pick the best you can afford. If you’re buying for basic post casting, anything like the Presonus Audiobox (which also connects to iPad, incidentally) will work just fine.

Other manufacturer suggestions include Focusrite and M-Audio for suitable low cost solutions.
If you’re a professional musician, engineer, production student or a hobbyist who wants to record more than two channels, see our Advice guide on buying an interface for a full list of considerations.
3.5 USB Microphones
Microphones, traditionally, need to be plugged into an interface which boosts the signal to a usable level and converts the sound into digital data that the computer records. (You’ll hear the term “pre-amps” and DA/AD (digital – analogue and analogue digital conversion) when looking at interfaces.
USB microphones basically integrate the interface into the microphone.
This wouldn’t really be our recommendation for use with Pro Tools where the engine requires that the interface is used for recording and playback. A USB mic only provides an input device – it doesn’t play back. This ensures the efficiency of the audio system. Some DAWs allow you to define an input device and an output device but Pro tools doesn’t allow this for good reason.
- That’s it!
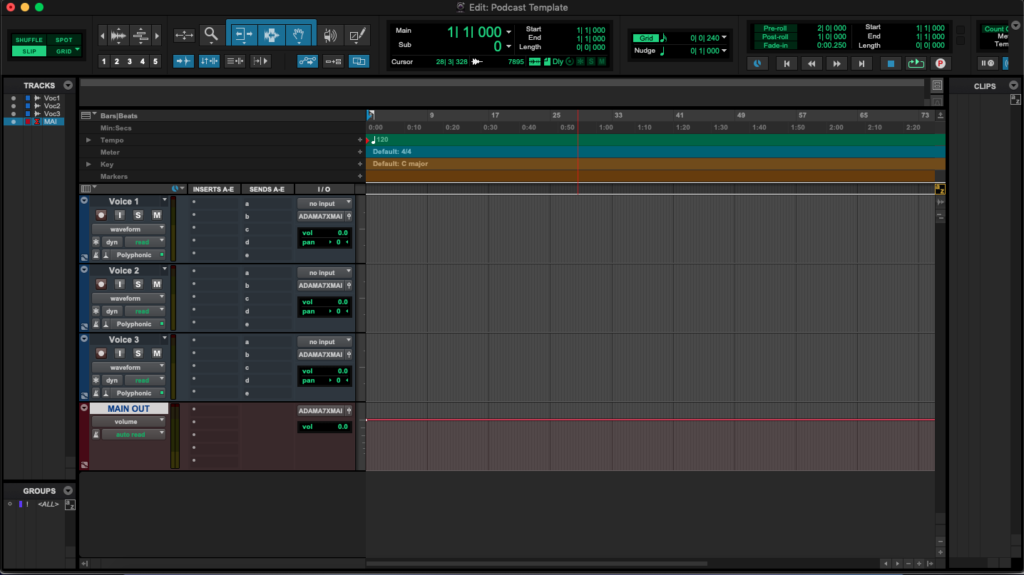
The rest is up to you. If you choose to do it in Pro Tools, we’ve set up a really simple .ptx podcasting template for you.
(If you read a certain Verge article recently on how restrictive Pro Tools is for podcasting, just ignore it – it was simply a charged rant against Avid dressed up in a podcasting article to get clicks!
Pro tools is no more difficult for podcasting with than Reaper, GarageBand or Logic.)
Pro Tools Answers audio is dealt with in Camtasia, but if I was to do any work in Pro Tools, I’d use 3 mono tracks for the presenters, 3 stereo tracks for our DAW streams and a master fader to monitor the output LUFS. It doesn’t need to be any more complicated.
If you’d don’t have Pro Tools – Pro Tools First is free to use, and fully functional – certainly enough for podcasting.
4. Video
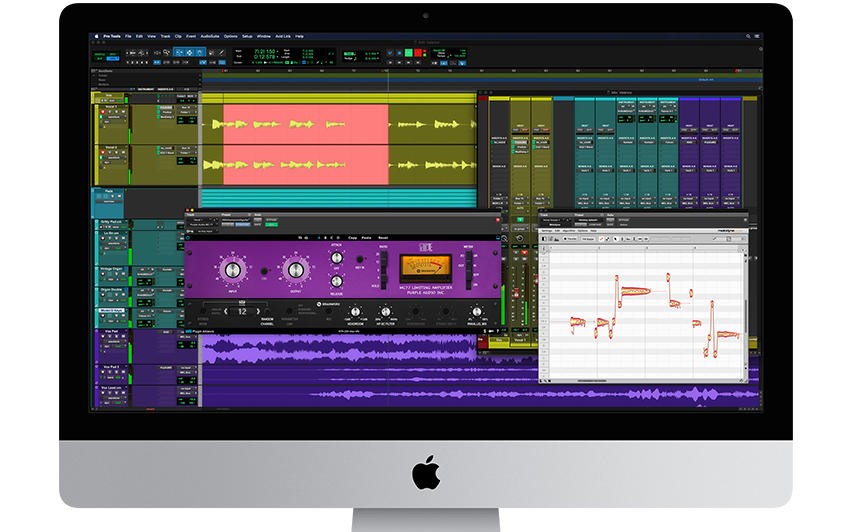
Are you including video in your podcast? Pro Tools can handle a single video file on the Pro Tools timeline alongside the audio, and bounce out into Quicktime format. You can edit basic video, but it doesn’t provide any effects or transitions – Media Composer is Avid’s app for that.
For video, you might want to consider iMovie for basic video editing but if you’re using a single video and audio track, you can bounce a movie out of Pro Tools just as easily as audio.
5. Have fun!
Some level considerations:
• Input level – Aim for -10dB peak
• Output master fader level – Aim to peak your master fader meter at -0.3dB
Put a limiter (Maxim for example) on the last Master fader Insert so that the level doesn’t peak over.
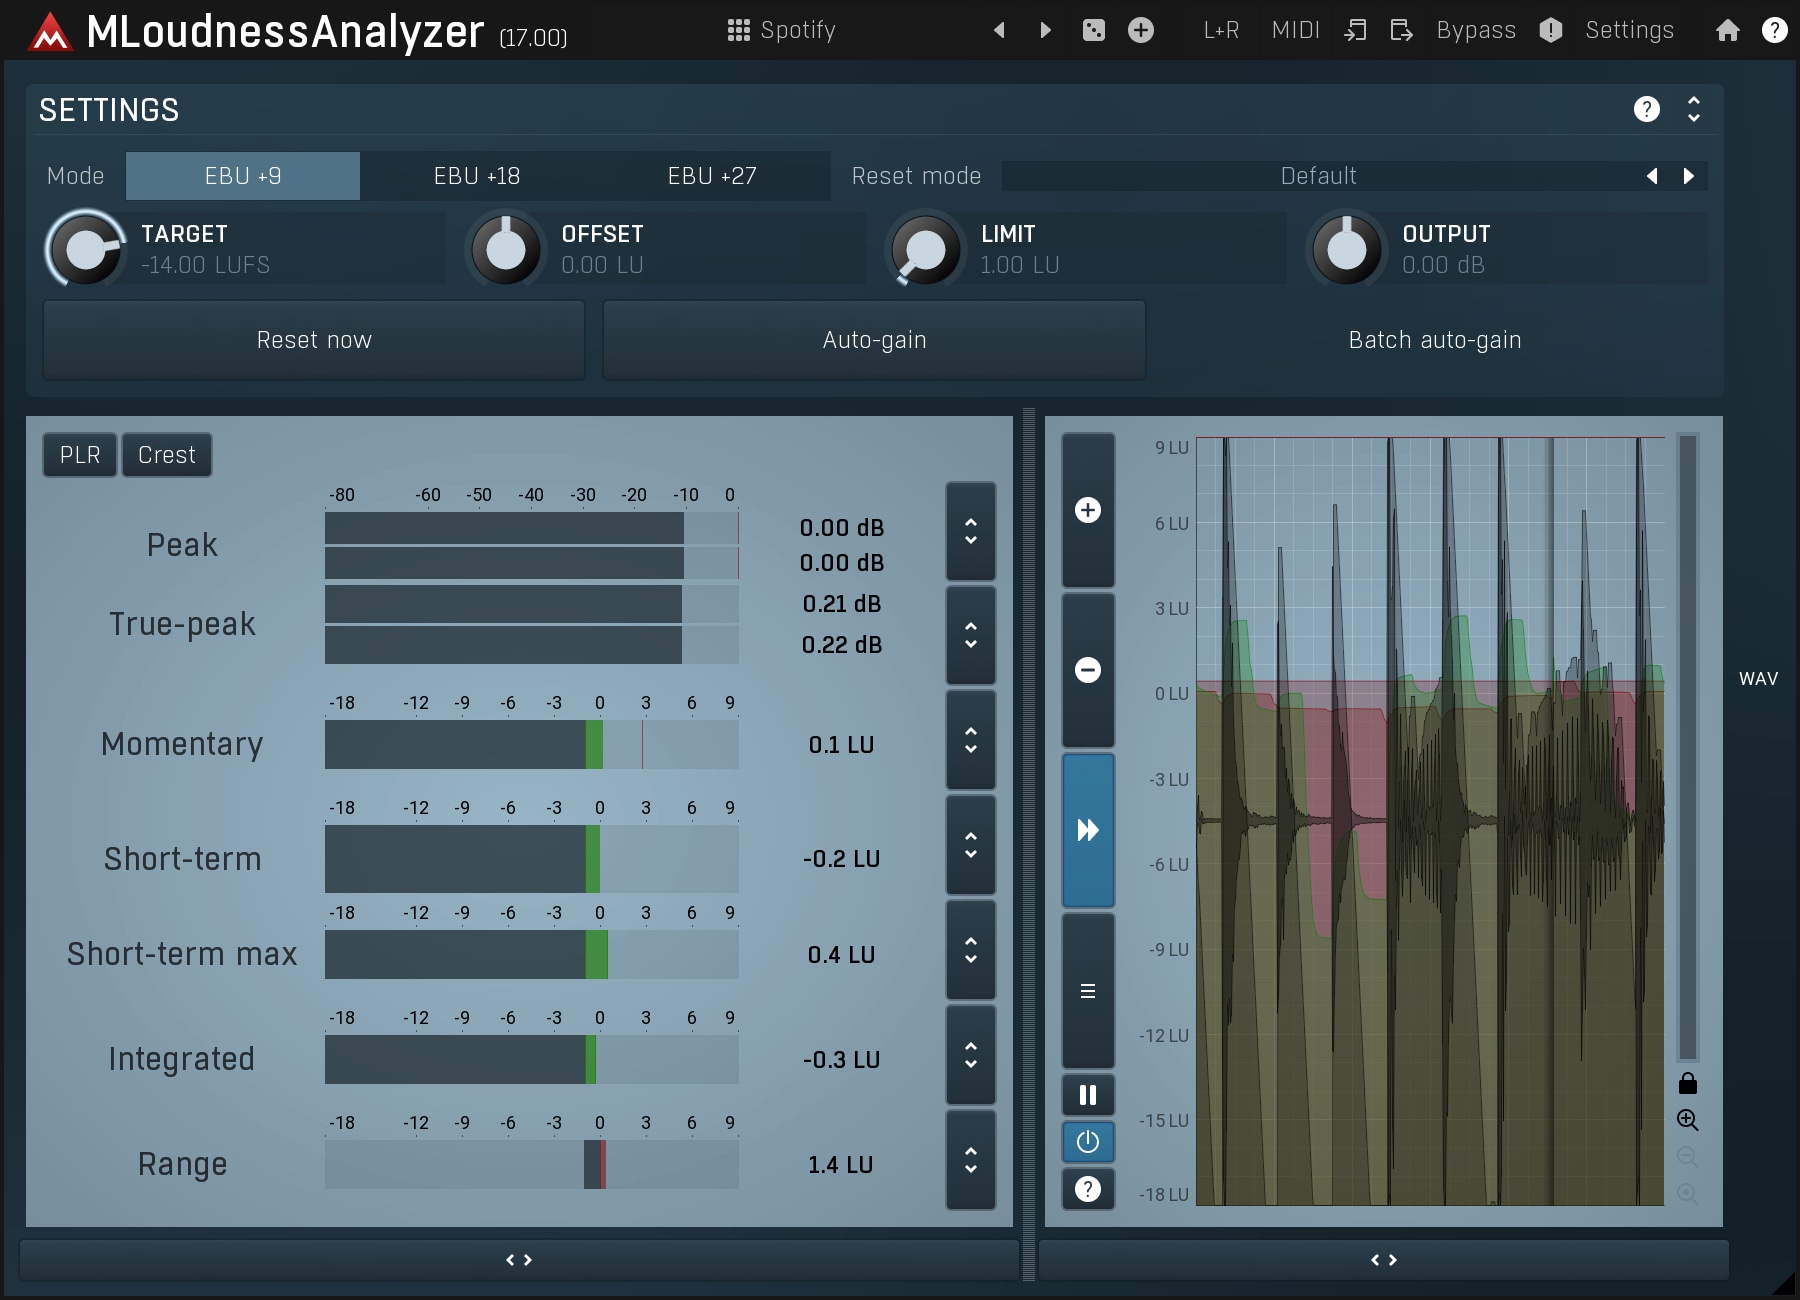
• LUFS – Download yourself a Metering plugin for the Master fader that can display the “loudness” of your master. This is how loud your audio will be. Push the signal going into your Master fader (and your limiter) so that the Integrated LU meter reads -17LUFS. This will be a good, loud, level for YouTube or similar.
MLoudness Analyser from Medla Production will do for Free.
Here’s a link to their site
Audio Engineering Training
If you would like any audio engineering training to learn more about Levels, LUFS, Tracks, etc – contact the team directly for 121 training sessions conducted over Zoom.
Don’t be embarrased about not knowing what we’re talking about in our blog – Audio Engineering is science + maths + physics + music + hard! We spend a lot of time explaining concepts to our students… we realise that they aren’t easy to grasp!


